 You can connect to your Office 365 or other Exchange-based email on an Android phone or tablet. When you set up an Exchange account on your Android, you’ll be able to access and synchronize your email, calendar, and contacts. If you only want to use email, you can set up POP or IMAP email on an Android. If you have a different device, see Phone and tablet setup reference. If you’re having trouble connecting your device after following these steps, see What else to I need to know? at the end of this article.
NOTE If you have an Office 365 email account see Use Office 365 on your Android Phone for detailed information about how to use Office 365 on your phone or tablet.
Set up Microsoft Exchange email on an Android
- From the Applications menu, select Email. This application may be named Mail on some versions of Android.
- Type your full email address, for example tony@contoso.com, and your password, and then select Next.
- Select Exchange account. This option may be named Exchange ActiveSync on some versions of Android.
- Enter the following account information and select Next.
- Domain\Username Type your full email address in this box. If Domain and Username are separate text boxes in your version of Android, leave the Domain box empty and type your full email address in the Username box.
NOTE On some versions of Android, you must use the domain\username format. For example, if your email address is tony@contoso.com, type contoso.com\tony@contoso.com. Your username is your full email address.
- Password Use the password that you use to access your web Office 365 account.
- Exchange Server Use the address of your Exchange server. If you’re connecting to your Office 365 email, use outlook.office365.com for your server name. If you are not using Office 365, see Find your ActiveSync server name later in this article.
- As soon as your phone verifies the server settings, the Account Options screen displays. The options available depend on the version of Android on your device. The options may include the following:
- Email checking frequency The default value is Automatic (push). When you select this option, email messages will be sent to your phone as they arrive. We recommend only selecting this option if you have an unlimited data plan.
- Amount to synchronize This is the amount of mail you want to keep on your mobile phone. You can choose from several length options, including One day, Three days, and One week.
- Notify me when email arrives If you select this option, your mobile phone will notify you when you receive a new email message.
Sync contacts from this account If you select this option, your contacts will be synchronized between your phone and your account.
- Select Next and then type a name for this account and the name you want displayed when you send e-mail to others. Select Done to complete the email setup and start using your account.
NOTE You may need to wait ten-to-fifteen minutes after you set up your account before you can send or receive e-mail.
Find your Exchange ActiveSync server name
If your email program isn’t able to automatically find your Exchange ActiveSync server name, you may need to look it up.
If you’re connecting to your Office 365 email, use outlook.office365.com as your Exchange ActiveSync server name.
If you’re connecting to an Exchange mailbox, but aren’t using Office 365, or if you aren’t sure if you’re using Office 365, follow these steps to look up your Exchange ActiveSync server name.
- Sign in to your account using Outlook Web App.
- If you’re connecting to an Exchange mailbox, but aren’t using Office 365, your Exchange ActiveSync server name is contained in address bar in your browser when you are signed in to Outlook Web app – -but without the leading https:// and without the trailing /owa. For example, if the address you use to access Outlook Web App is https://mail.contoso.com/owa, your Exchange ActiveSync server name is mail.contoso.com.
- If you’re unable to connect to your mailbox using the information earlier in this section, you can try the server name value that displays in Outlook Web App options.
In Outlook Web App, from the toolbar, click Settings Gear Icon > Options > Account > My account > Settings for POP and IMAP access.
NOTE Although you’re not setting up a POP3 or IMAP account, you’ll use the POP server name to determine your Exchange ActiveSync server name.
- Under POP setting, look at the value for Server name.
- If the Server name value is outlook.office365.com, your account is an Office 365 account, and you can use outlook.office365.com as your Exchange ActiveSync server name.
- If the Server name value is not outlook.office365.com, you can try using the server name listed on your options page. For example, if the server name is mail.contoso.com, try using mail.contoso.com as your Exchange server name.
That Should Do it! Email should begin to flow. You may be prompted to use a password on your phone if your administrator has put those policies in place.
Call TMD Technology Services for additional Computer and Phone Support.
Headquartered in Delray Beach, FL.
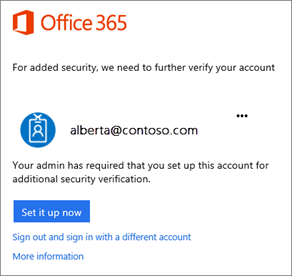
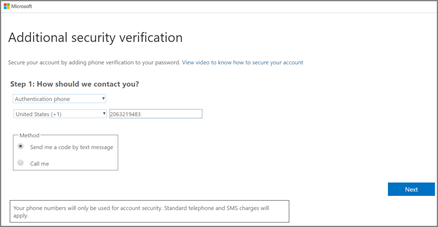
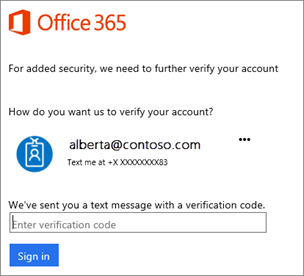
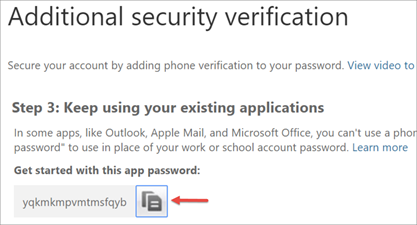


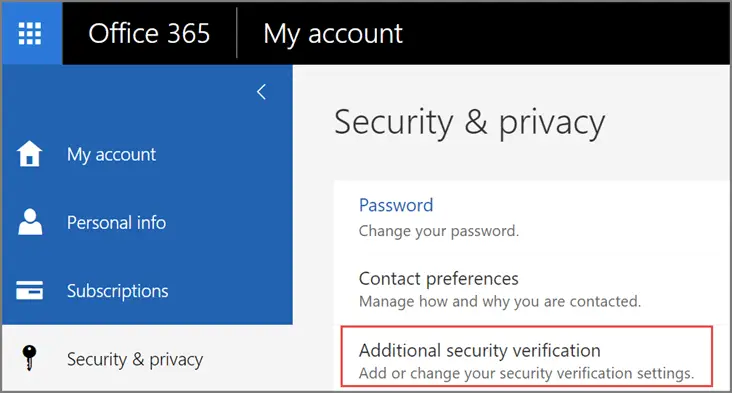
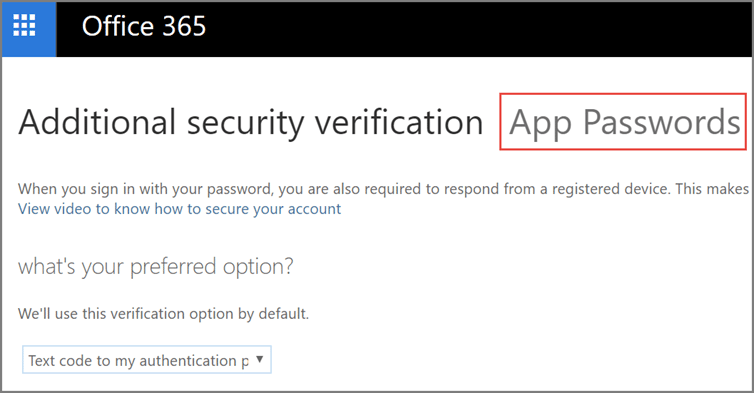
 > Office 365.

 You can connect to your Office 365 or other Exchange-based email on an Android phone or tablet. When you set up an Exchange account on your Android, you’ll be able to access and synchronize your email, calendar, and contacts. If you only want to use email, you can set up POP or IMAP email on an Android. If you have a different device, see Phone and tablet setup reference. If you’re having trouble connecting your device after following these steps, see What else to I need to know? at the end of this article.