Create a signature
- Sign in to Outlook Web App. For help, see Sign in to Outlook Web App.
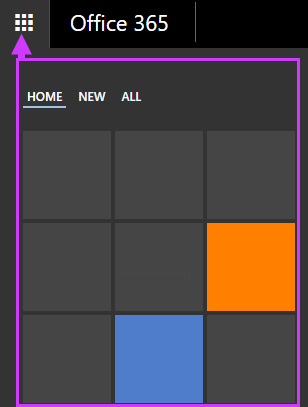
- On the nav bar, choose Outlook (or Mail).OrChoose App launcher
 > Outlook.

- On the nav bar, choose Settings
 > Options.
 - Under Options, choose Settings > Mail.OrUnder Options, choose MAIL > Layout > Email signature.
- Under Email signature, in the text box, type the signature you want to use. Use the formatting mini toolbar to change the appearance of the signature.
- If you want your signature to display at the bottom of all outgoing items, including replies and forwards, select Automatically include my signature on messages I send. If you don’t select this option, you manually can add your signature to any message.
- Choose Save.
Manually add your signature to a new message
- Sign in to Outlook Web App.
- On the nav bar, choose Outlook (or Mail).OrChoose App launcher
 > Outlook.

- Choose
 above the folder list. A new message form opens in the reading pane.
 - At the top of the message, choose
 Insert > Signature (or Your signature).
 - When your message is ready to go, choose
 Send.
Send.
Automatically add your signature to every message you send
- Sign in to Outlook Web App.
- On the nav bar, choose Outlook (or Mail).OrChoose App launcher
 > Outlook.

- On the nav bar, choose Settings
 > Options.
 - Under Options, choose Settings > Mail.OrUnder Options, choose MAIL > Layout > Email signature.
- Under Email signature, do one of the following:
- To include your signature at the bottom of all outgoing items, select the Automatically include my signature on messages I send check box.
- To exclude your signature from showing at the bottom of all outgoing messages, clear theAutomatically include my signature on messages I send check box.


